|
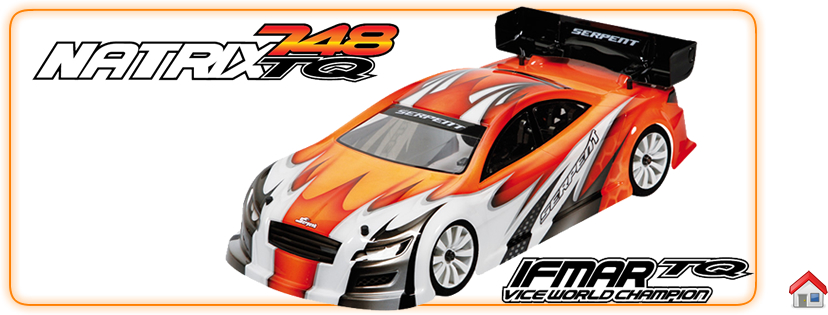
| Serpent introduces the Serpent NATRIX 748-TQ 1/10 scale gaspowered 200mm racecar | |||
To celebrate the fantastic TQ position of Greiner at the 2014 WC in Thailand Serpent now introduces the Natrix 748 TQ Ofcourse we also celebrate to have 4 x Natrix in the top-10 in qualifying, and the excellent Vice Champion title of Yuya Sahashi after starting from 9th position in the main final, with Greiner taking 3rd place overall, so 2 Serpent drivers on the podium. To introduce a TQ version so short after introducing the Natrix 748 only 6 months ago may seem quick, but has some very good reasons. Some new parts were pretested and then used at the Worlds and we know many Serpent fans that plan to buy a new car for the 2015 season, will of course want these new parts inside the kit !
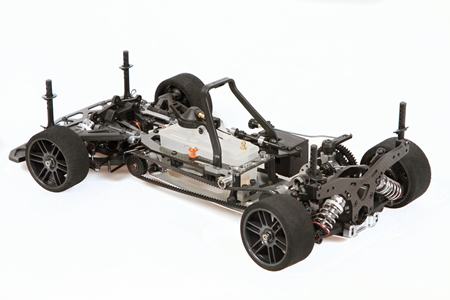
The Natrix 748 TQ kit features the completely new 748 geardifferentials front and rear, which are lighter, super sealing case, new shape gears, super smooth. The TQ kit also includes the new Xli ( for eXtra Low Inertia) 2-speed gearbox inside, which is smaller and lighter, but uses same 2-speed gears as before ! At the worlds some more special parts were used, especially more weights towards the front of the car, but as these were used mainly due to the special grip and circumstances we decided not to include those in the TQ kit. Otherwise the Natrix 748 cars that the drivers used at the WC were fully standard, which proves how good the actual Natrix 748 is !! |
|||
|
Michael Salven as chief designer, has worked closely together with key team drivers Green, Greiner, Morganti, Mazzeo and the Sahahsi Bro’s to create the next level in 1/10 scale gas powered racing.
|
||
 |
|||
SERPENT HERITAGE: Serpent has started developing and manufacturing of rc cars in 1980 in the Netherlands, Europe and has expanded the rc car program ever since ! Serpent has won mulitple World Championships, as well as European, American and Asian Championship titles. Michael Salven is head of design for all onroad Serpent cars, as has been racing all his life, and won World and European Championship titles, as well as many German national titles. His experience and knowledge has also been used to design the Natrix 748. |
|
 |
INTERVIEW WITH MICHAEL SALVEN:
Interview on the NATRIX 748 project with Serpent designer and toplevel racer Michael Salven |
| Michael Salven | |
ENS- HOCKENHEIM VIDEO INTERVIEW WITH MICHAEL SALVEN and TEAM DRIVERS MARK GREEN and DOMINIK GREINER: |
 |
 |
 |
||||||||||||
 |
|||||||||||||
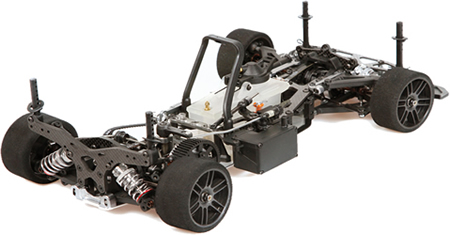
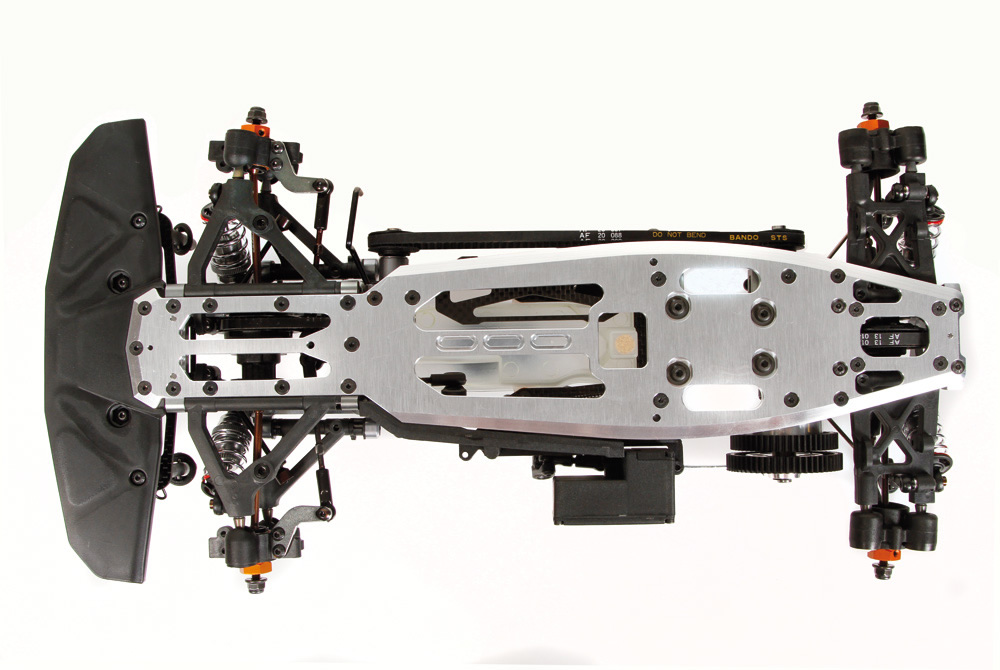
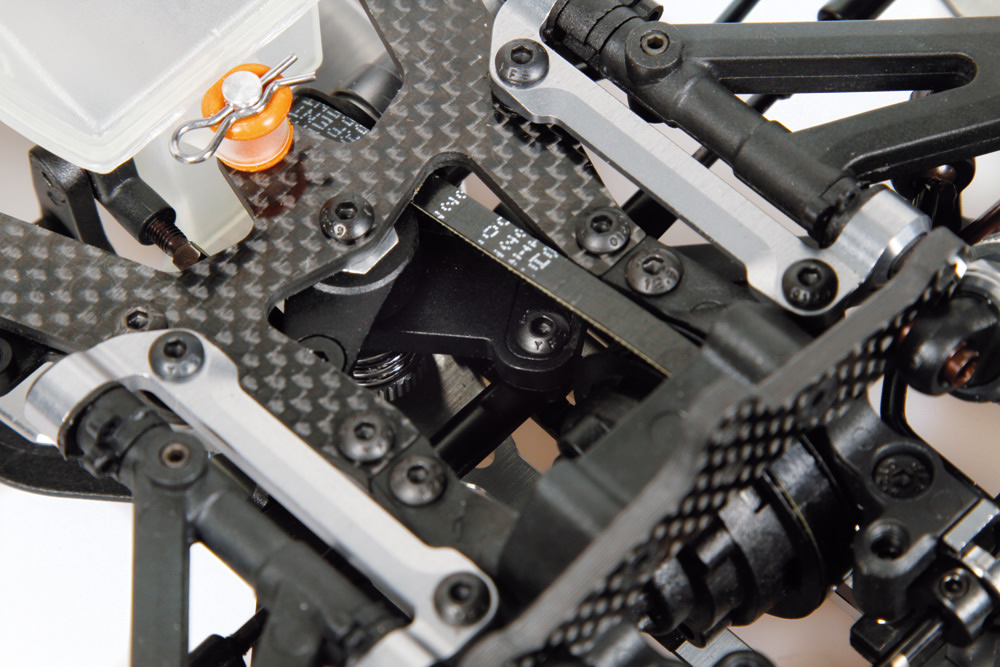
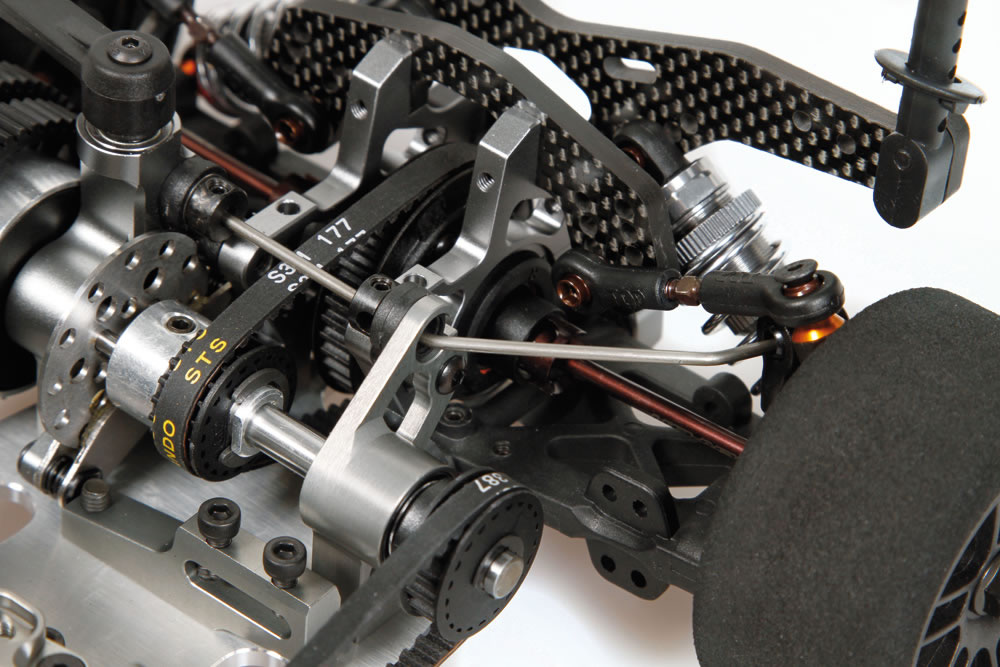
CHASSIS: Symmetrical chassisplate for even flex and torsion, in 7075 T6 aluminium, anodised and laser engraved. Chamfered edges for more ground clearance when cornering and countersunk holes. Central slots to mount weight, which can slide into the right position and then secured.
|
 |
 |
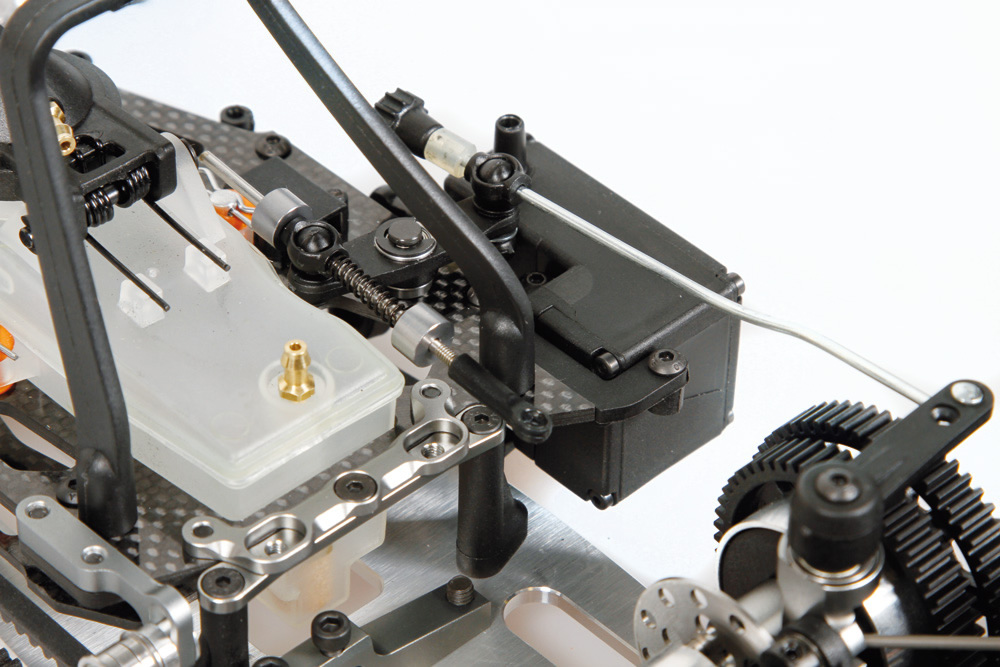
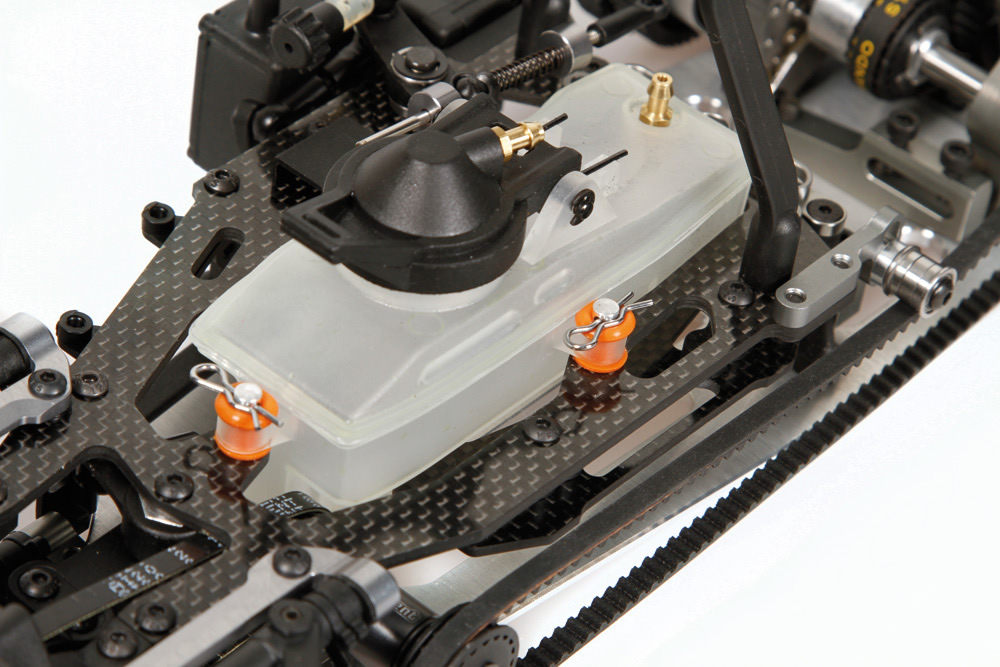
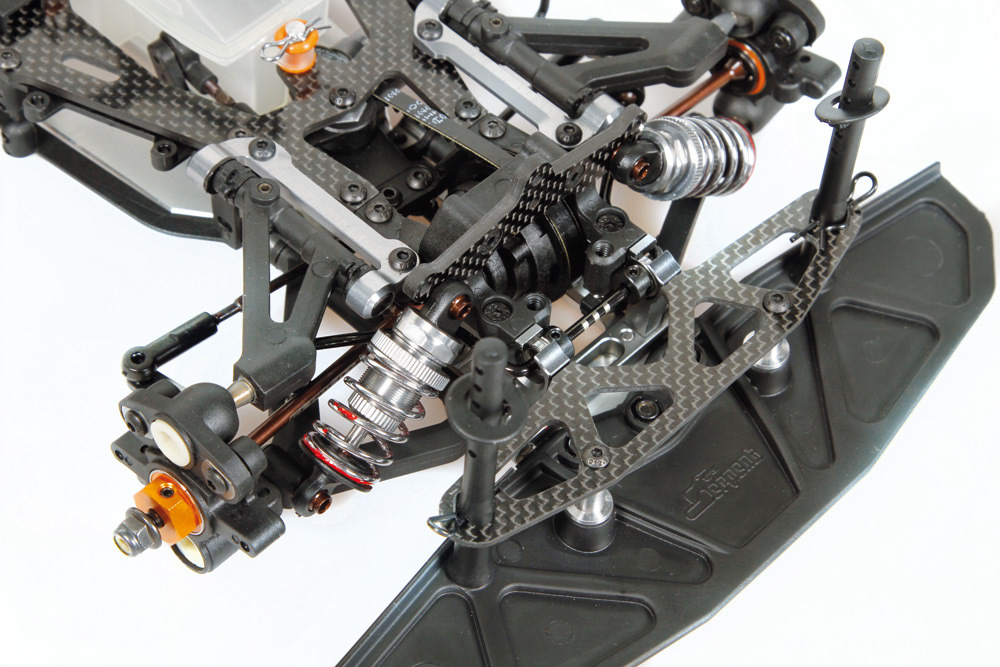
RADIOPLATE: The 2mm carbon fibre radioplate has multiple functions. It holds the fueltank in place which is mounted on 3 alu posts in rubber. On the right hand side the receiver mounts to a nicely shaped carbon fibre plate that connects to the radiotray, sqeezed in right between belt and tank. The radioplate sits again lower on the car , for lower center of gravity. |
CENTRAL FLEX SYSTEM: The rear section of the radioplate incorporates a nice flex-control system. It consists of 2 machined aluminium parts. The lower one connects to the radioplate supports an the upper one with screws to the upper alu plate and radioplate. You can either run the 748 rigid with flex . The optional ball-bearings and screws are sold seperate. Testing has shown that flex in the center rear of the car has the most effect and reacts most predictable as well.
|
 |
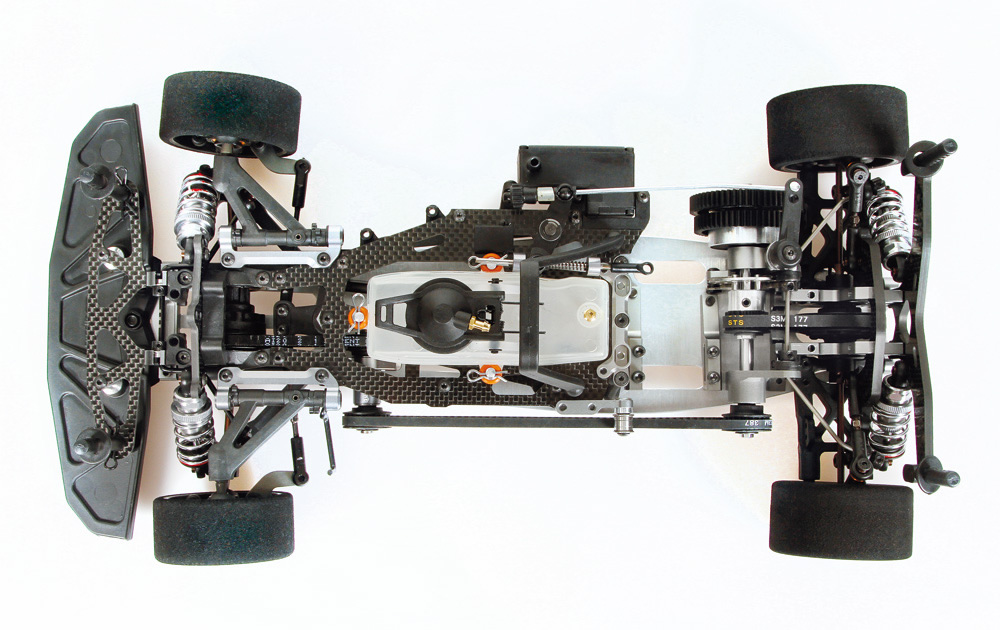 |
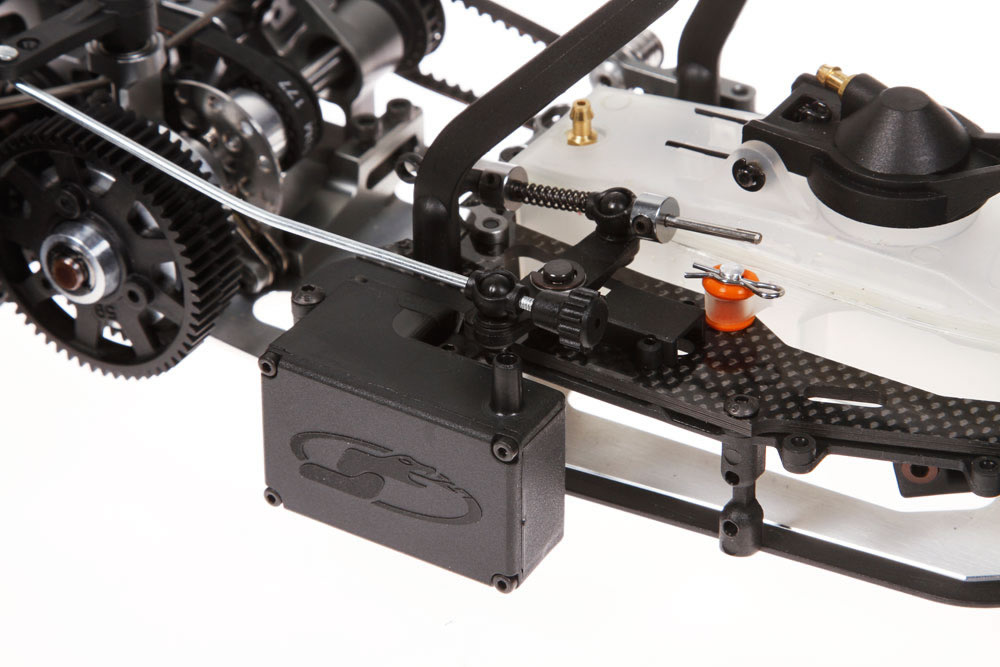
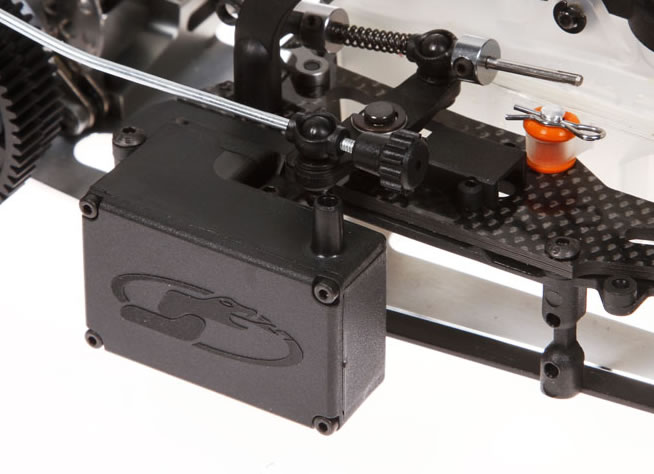
748 SERVO HOLDER: A new composite servo holder is designed to have both servo closer to the center line of the car and as low as possible. The 2 lay-down servo’s are seated very close together and mount in a very efficent and easy way. The holder mounts to the radio-tray. |
RECIEVER BOX: The new composite receiver box is small but holds and protects the most common modern receivers easily. The antenna mounts to the top. The box is securely fastened to the radioplate with a nylon bracket . The box has been moved as much to the inside as possible. On the radioplate a small holder is fitted to accept the plugs of the battery, to act as on/off “switch”. LINKAGES: The throttle / brake linkage is same style as used on the 977 1/8 car. A pivot-lever system with an ingenius ball-cup system to the guide the wire and have almost friction free action. |
 |
WEIGHT BOTTOM BRASS 38GR: Brass weight which is mounted in the central part of the chassis; the weight is seated in a slider, so its easy to move the weight more to the front or back, to change the balance of the car, for more steering, or more grip |
FUEL TANK: Lower and longer durable 75ccm nylon fueltank with transparent material to easy see fuel-content. Large springloaded quick-fill cap with seal with large tank opening for fast and easy refills. The bronze sintered filter will keep fuel clean and make sure tank will empty till last drop if needed. Fueltank sits very low in the car for low center of gravity. Fueltank is mounted with clips on 3 alu posts with rubber buffers. |
 |
 |
SUPERSHORT RCM SHOCKS: Coated threaded shockbodies in high quality aluminium. Supersmooth o-ring / bushing package, to guide and seal the spring-steel piston rods. Precision moulded pistons included in 3 types. Threaded pre-load shocknuts in alu with o-ring inside. Light but strong nylon spring-cups. Selected, matched and paired shockabsorber springs with color coding. |
||
 |
||
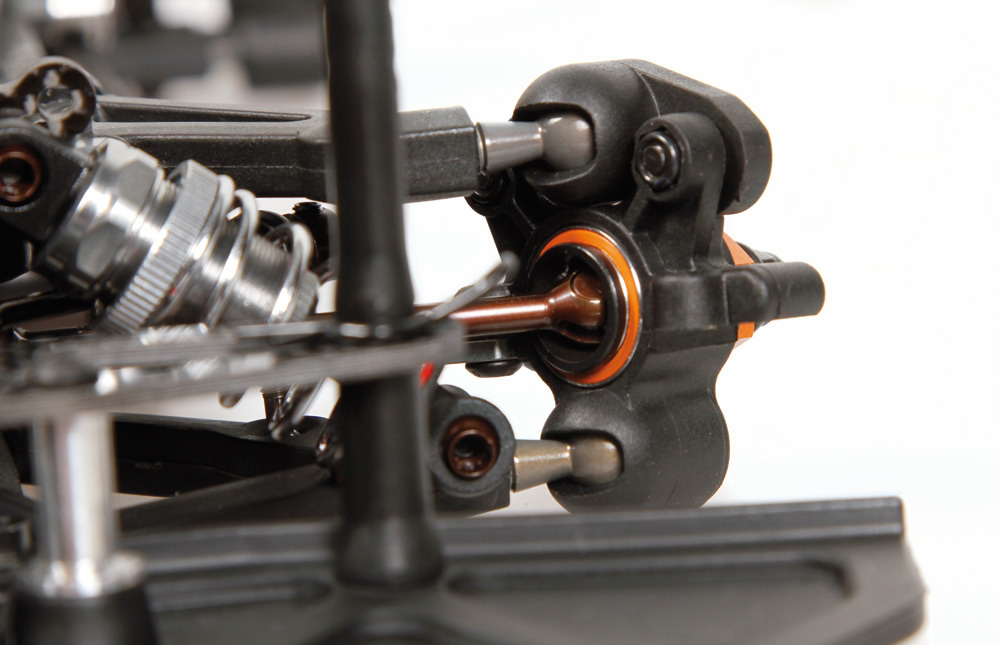
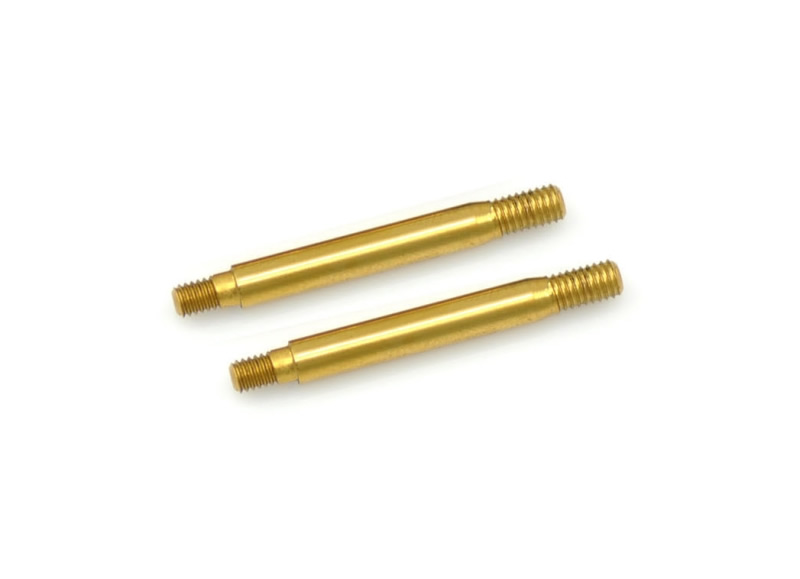
STEERINGBLOCKS: Very strong composite steeringblocks with 2 ackermann positions, L and R use the same . The steeringblocks feature inserts, which allow to change the kingpin inclination to a leading or trailing position. The steeringblocks also allow use of the optional carbon fibre aero disks to be mounted for less flex and a more direct steering feel. WHEELAXLES/CVD'S: The spring-steel wheelaxles are seated in high speed bearings. The light and durable spring-steel cvd’s bring all the power to the front wheels. Wheels are mounted to orange anodised high grade aluminium hex-adaptors using flanged wheelnuts. The ballraced wire type anti-rollbar in the front is really easy to access and change for other type or thickness as needed. The anti-roll bar is linked to the lower a-arms with a unique pivotball/cup system, which provides direct and smooth operation and is easy to set and adjust. |
SHOCKTOWER FRONT: Superlow 3.0mm carbon fibre shocktowers with 3 positions for upper shockmounting. In the centre you can mount the 3rd bodypost as needed. FRONT BRACKETS: A compact and superlight structure of topquality aluminium parts consist of top-brackets, L and R equal bearing brackets, lower suspension bracket front. The open style design allows for very fast parts exchange as needed, like belt, diff or anti-roll bar. Strong long double A-arm suspension with aluminium pivotballs, which pivot in light nylon cups. Hard type composite arms. The arms pivot on the inside on springsteel pins. The pivot-inserts are used to change rollcenter. Small grubscrews mount in the upper bracket to control downstop. Easy to access and change ride height, front width, toe-in, caster and camber. |
 |
 |
FRONT BUMBER AND BODYMOUNT: Front bumper with aerodynamic effects and excellent protection. Some parts of the lower bumper can be cut open to create more steering. Medium or small foam bumper pad scan still be fitted as optional. The upper carbon fibre bodyplate mounts to the front bumper with alu post and secures the front bdyposts
|
 |
||
 |
|
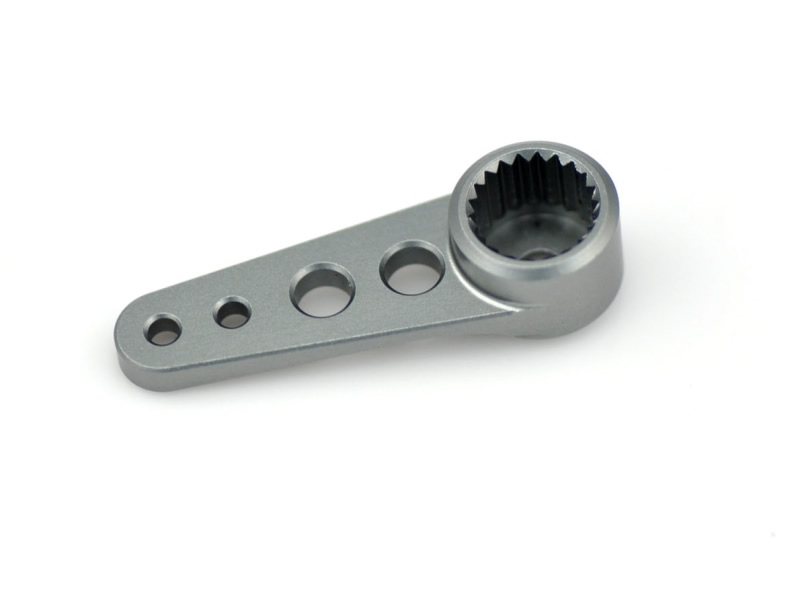
SERVO-SAVER/STEERING: The new lowered centraly mounted steel servo-saver post fits the spring-loaded ballraced servo-saver system and steering. The inserts allow 2 ackermann settings. Due to the open design the linkages with L/R threading can be reached easily. The whole system allows for very precise steering and minimum bumpsteer. |
|
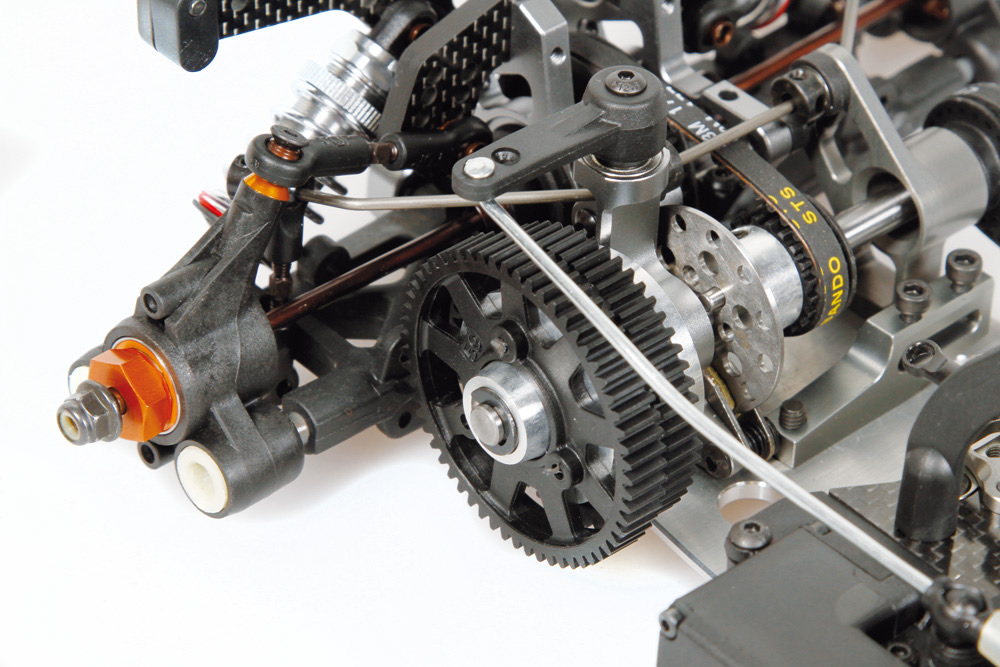
MIDDLE SHAFT HOLDER: Machined 2 piece aluminium middle shaft holder, which securely holds the spring steel middle shaft, and doubles up as holder of the pipe-mount. |
||
 |
SUSPENSION REAR: The Hard lower rear composite arms together with the updated uprights create a wider set-up sweet-spot with more grip and more steering. The upper camber rods connect to the carbon camber bracket with 8 mounting positions for roll-center and the camber rod is easy to access and has L/R threading for fast changes. The aluminium pivotball system allows for fast changes in width and toe-in. On the lower inside the wishbone pivots on springsteel pins, which seat with roll-center inserts in the anodised alu suspension brackets. REAR BRACKETS: Very rigid but open rear end design with a composition of machined alu brackets, allowing for easy maintenance. The differential brackets, L and R equal, are toothed and seat the excentric bearing holder, which allow for setting belttension. Its very quick and easy to mount a differential and or replace a belt. The machined aluminium lower suspension brackets have roll-center inserts with 3 positions to choose from. The rear bracket is the narrow V1 version. |
 |
 |
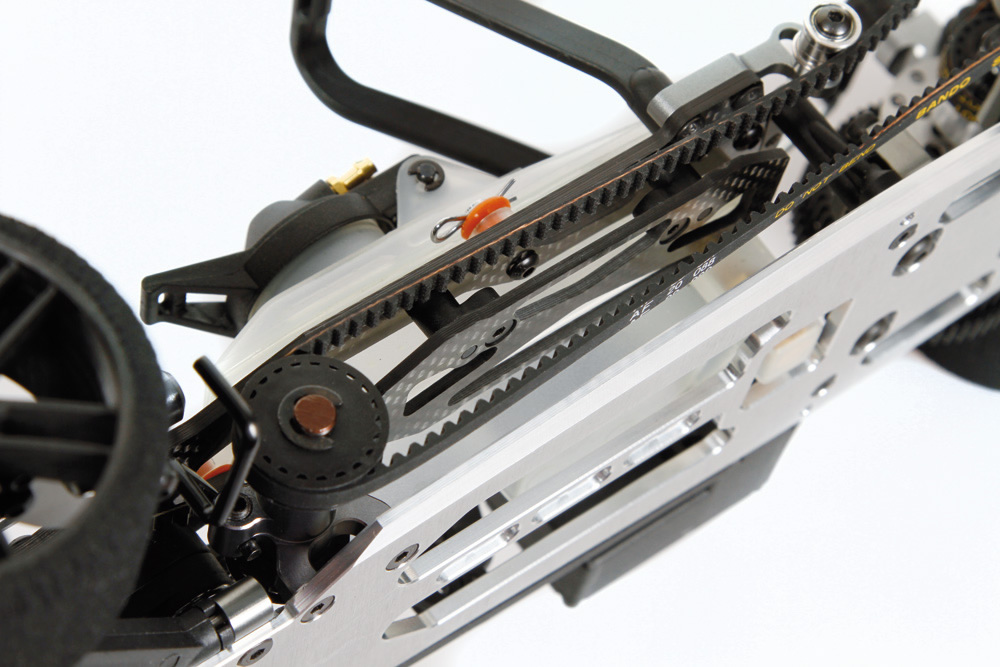
2-SPEED GEARBOX SHAFT HOLDERS: The 2-speed gearbox shaft holders, double up as anti-roll mounts, and brake system basis. All topquality machined parts with anodising and laser-engraving. |
BRAKE - SYSTEM: The low mounted brake system with superlight disk allows for smooth and even braking, and the open system avoids overheating. The ball-raced excenter and lever gives a very smooth and direct brake-feeling. |
 |
 |
REAR CARBON SHOCKTOWER and CAMBER BRACKET: The low 3.0mm carbon shocktower has 3 upper mounting position for the shocks and it mounts the body-posts. The camber bracket offers 8 positions to choose from, 4 inner and 4 out holes. The shocktower is prepared to mount the extra body-protectors, which are optional. ANTI-ROLLBAR REAR: The ballraced wire type anti-rollbar in the rear is really easy to access from the top and change for other type or thickness as needed. The anti-roll bar is linked to the lower a-arms with a spring-steel rod. |
GEAR DIFFERENTIALS: The Natrix 748 TQ kit features the completely new 748 geardifferentials front and rear, which are lighter, super sealing case, new shape gears, super smooth. GEARBOX XLI: The TQ kit also includes the new Xli ( for eXtra Low Inertia) 2-speed gearbox inside, which is smaller and lighter, but uses same 2-speed gears as before ! Serpent invented the Centax clutch in the mid 90-ties, and all brands followed it. Small improvements are found to make the original system even better. The True Motion Centax has a flat flywheel, and the taper part on the pressure plate. This allows the flyweights to work even better. The hard anodised aluminium flywheel has 4 holes to have easy access to keep the flywheel in position when setting the pre-tension. The flyweights are made of topquality teflon and feature an additional hole to use grubscrews to make them heavier. The red friction clutch shoe is very grippy, and works excellent with the steel clutch housing. The hard anodised gears screw onto the threaded steel bell.
|
LOWER REAR WISHBONES: The hard composite lower wishbones feature a mounting position for the anti-roll bar linkage which moves the link position more outside. Its also offers a mounting position for an optional carbon shock-mount bracket, to move the lower shockmount position further out, but for the default set-up its not needed. By placing the lower shock further out, you will get even more steering . Durable medium type composite uprights, which seat the wheel-axles bearings. The upright offers the mounting position for the steel camber-rod with L/R threading. Rolll center chnages can be made on top of the upright with shims. The upright can be mounted with the optional carbon fibre aero disks for more rear grip and straight line stability. WHEELAXLES and DRIVESHAFT: The durable spring steel wheelaxles combined with spring steel driveshafts bring the power from the gear-diff to the wheels. Wheels are fitted on high grade anodised alu wheelhex adaptors and secured with flanged wheelnuts. |
 |
PULLIES: Precision moulded super-true pullies, which feature holed sidewalls to let debris move out easier. Light and durable. BELTS: Low friction Kevlar reinforced belts with fine pitch. Longlasting and smooth. Ball raced belt-tensioner, machined from aluminium and can mount on top or below the radioplate. ENGINE MOUNT: The light machined and anodised engine mounts perfectly seats the engine, well alligned with the gearbox. Small adjustment can be made to move the engine closer to the gearbox. |
 |
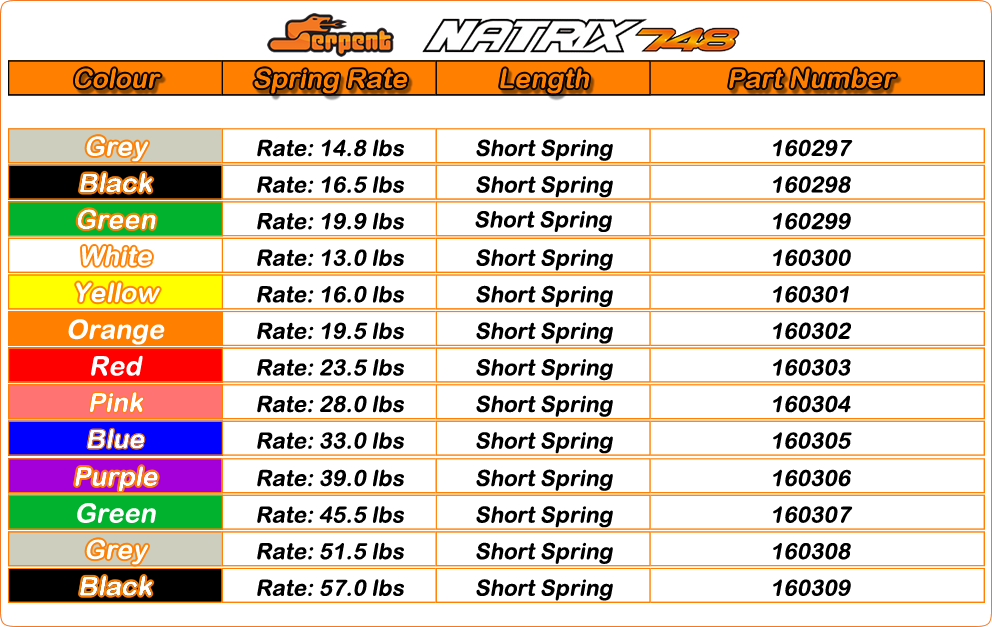
NATRIX 748 SPRING CHART:
|
| MANUAL / SET-UP SHEET: The 748 comes with a full color assembly manual, with easy to follow assembly steps. The manual also includes exploded views section showing all part numbers, and a full parts-list, showing also all optionals. The kit includes a default and blank set-up sheet. Editable sheets are in the Serpent website. The 748 includes one sheet with Serpent generic logo’s and one with 748 logo’s. Decals are very thin material and come pre-cut. The 748 comes in a strong, small carton box with nice graphics. The packing of the bags follows the steps in the manual. Designed by World and European Champion Michael Salven |
OPTION PARTS: |
|||
 |
 |
 |
 |
Shock RCM shaft short tin coated |
Body support rear |
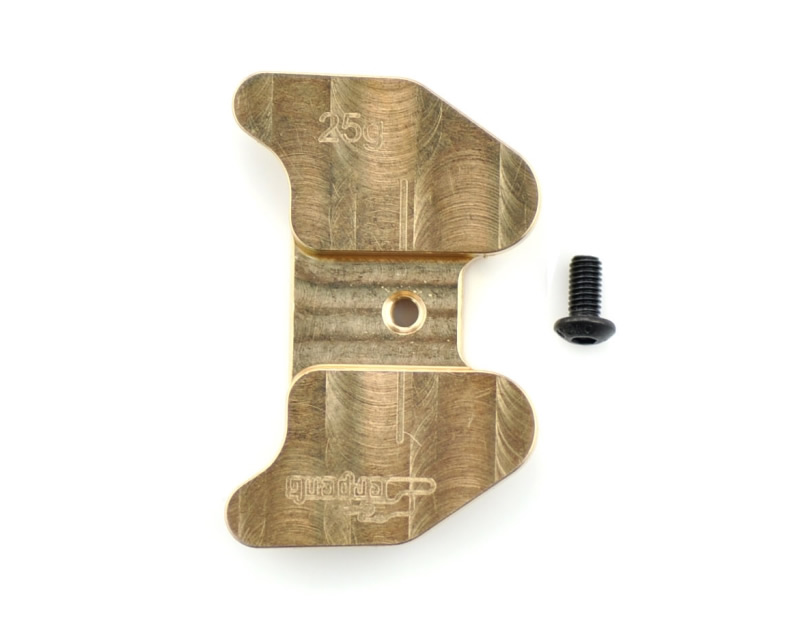
Chassis weight 25gr |
Centax-3 clutchbell alu |
 |
 |
 |
 |
Brake lever on-road alu |
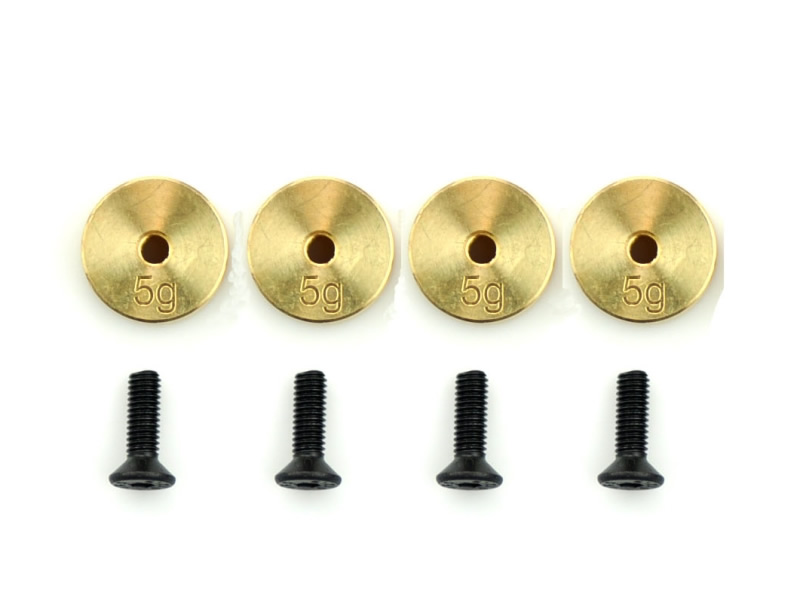
Weight set round 4 x 5gram |
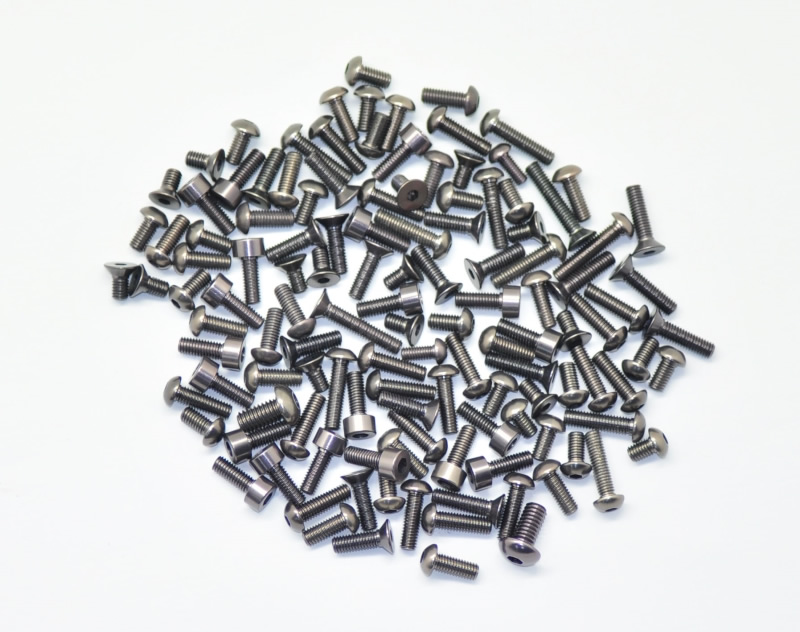
Screwset gray alu (125) |
Carbon Rim Cover Rear |
|
|
||||||||||||
|
|||||||||||||
Build report by Tom HowShopping List:2 x Sanwa SRG-BLS Ver.2 servo low profile |
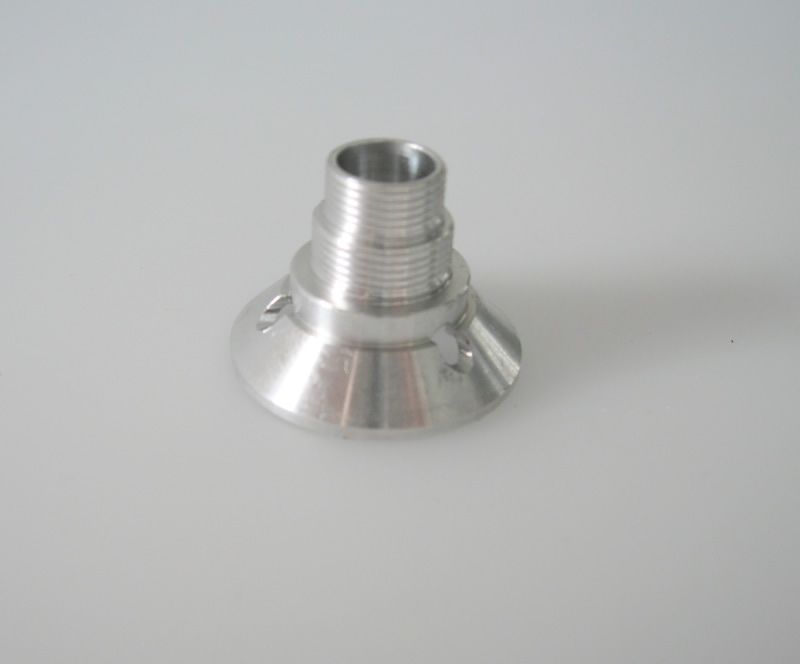
PARTS GALLERY: |
|||
 |
 |
 |
 |
Sanwa SRG-BLS servo low profile |
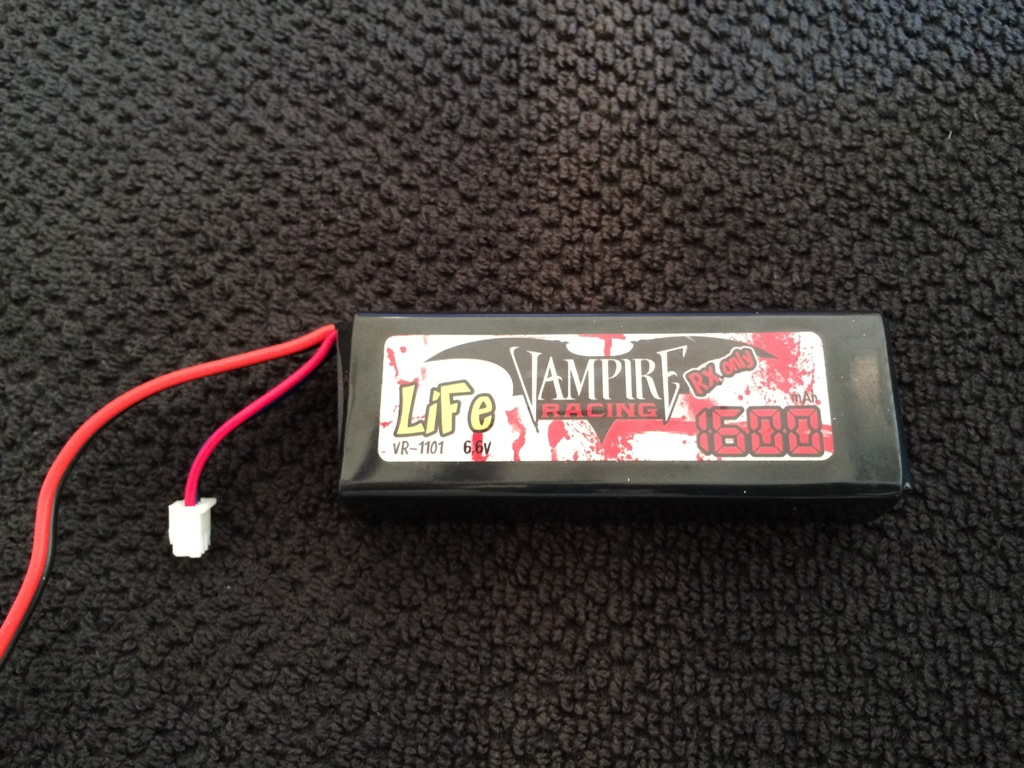
Vampire LIFE 1600 mAh |
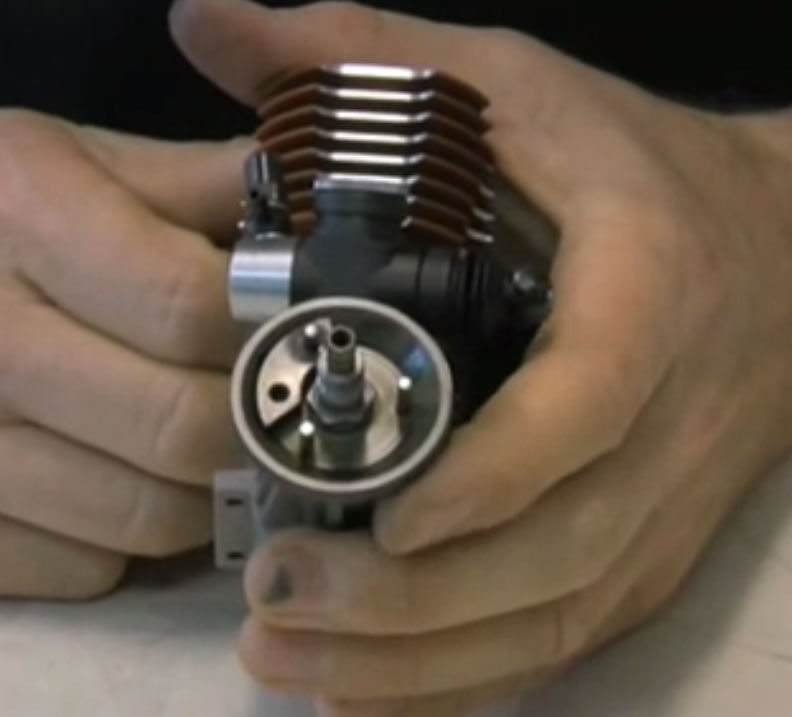
Novarossi FLASH.12-PT/A Motor |
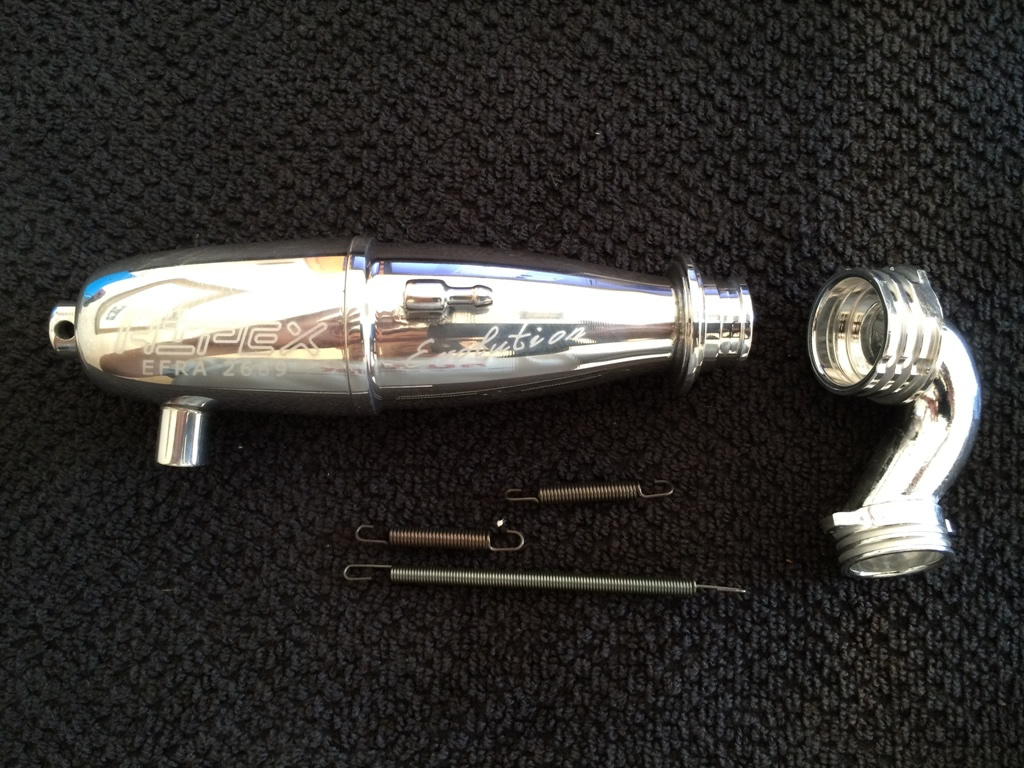
Hipex Exhaust and manifold |
 |
 |
 |
 |
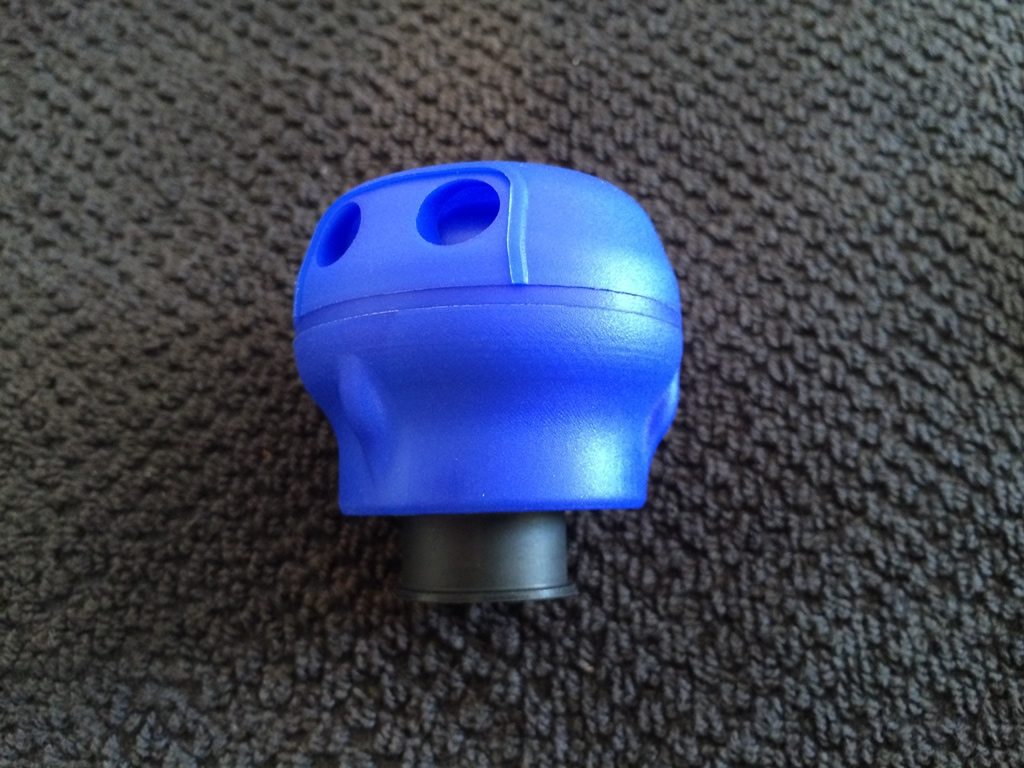
1 x Novarossi Air filter and box |
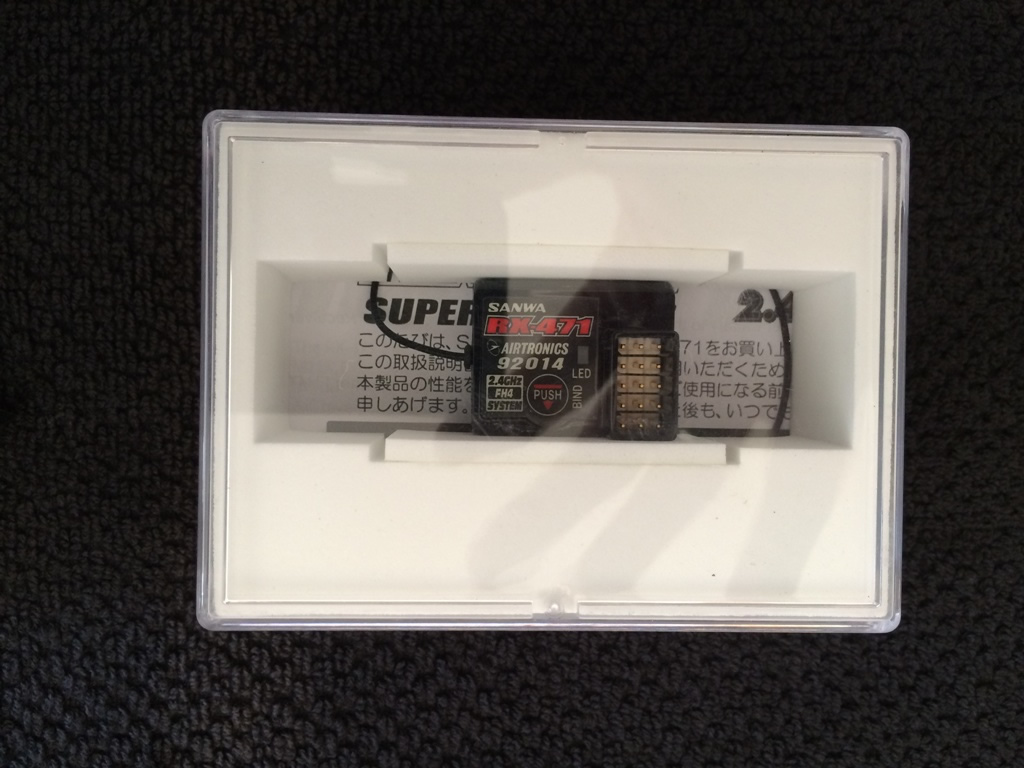
1 x Sanwa Reciever RX-471 |
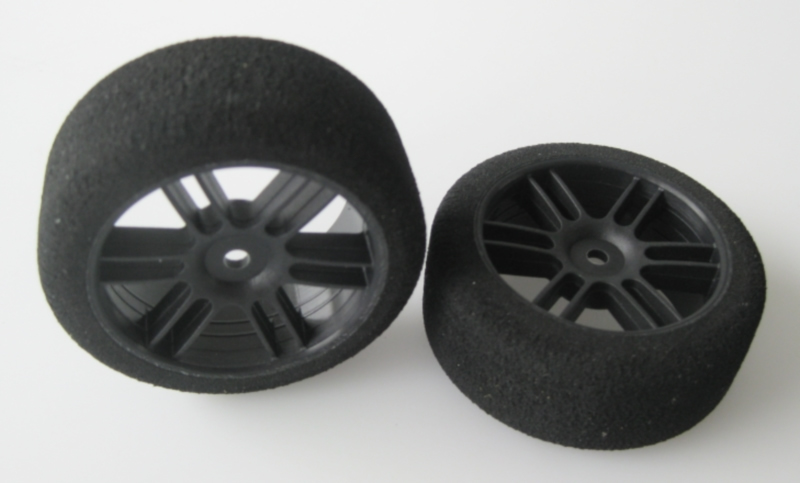
1 x Set wheels and tyres Xceed |
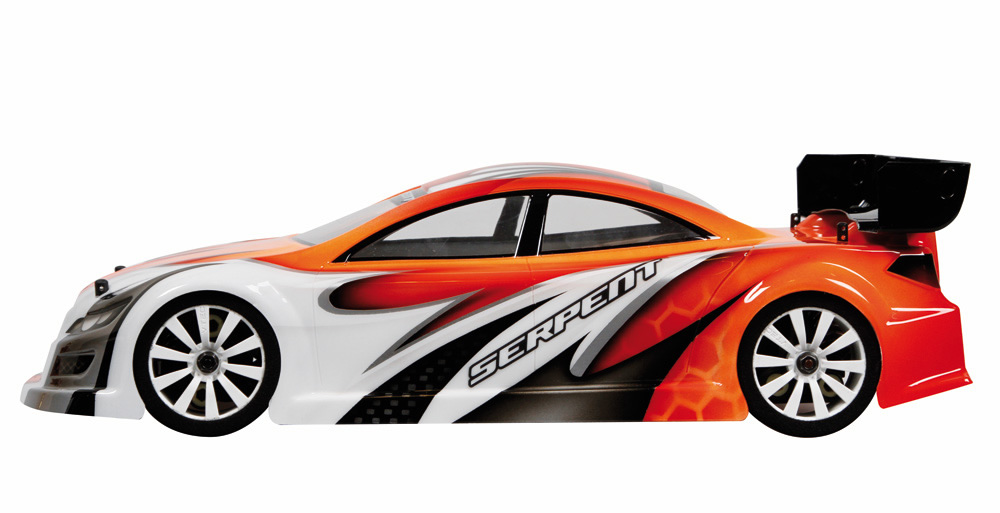
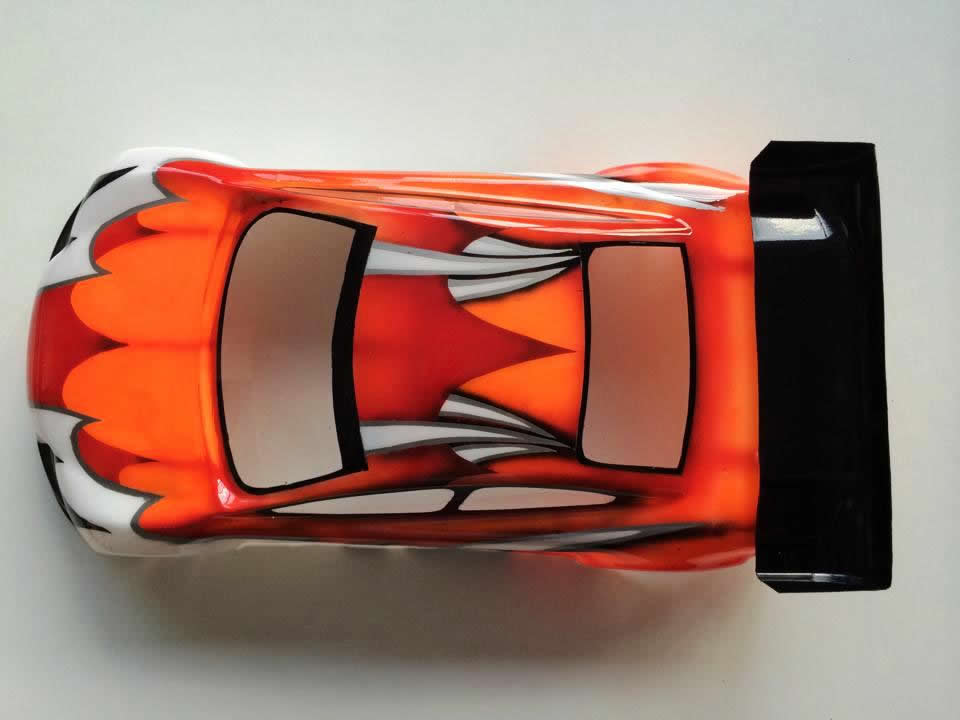
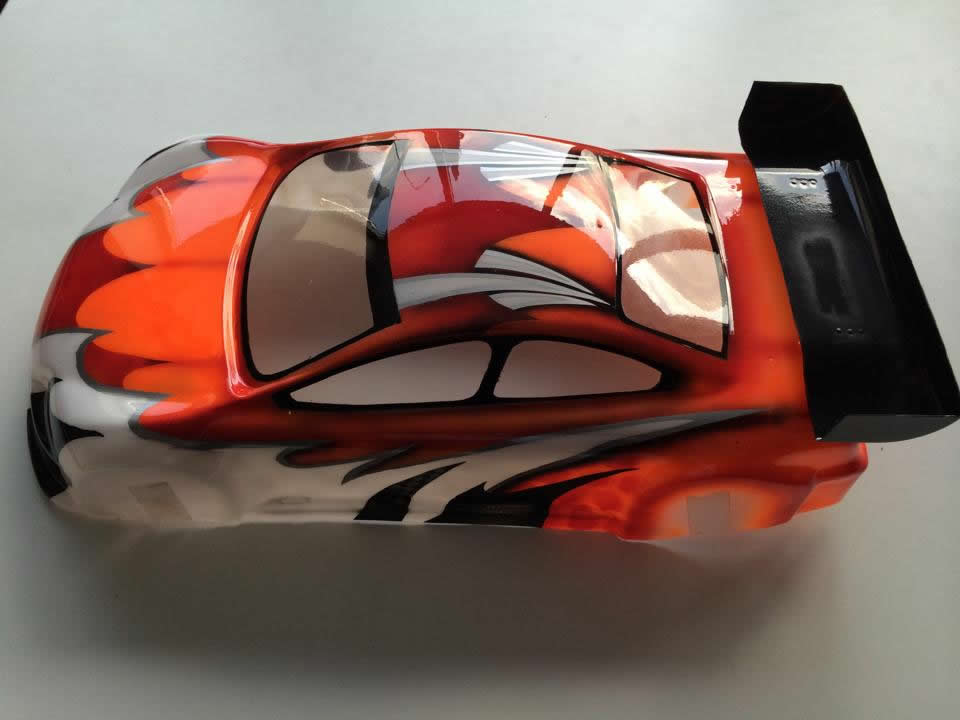
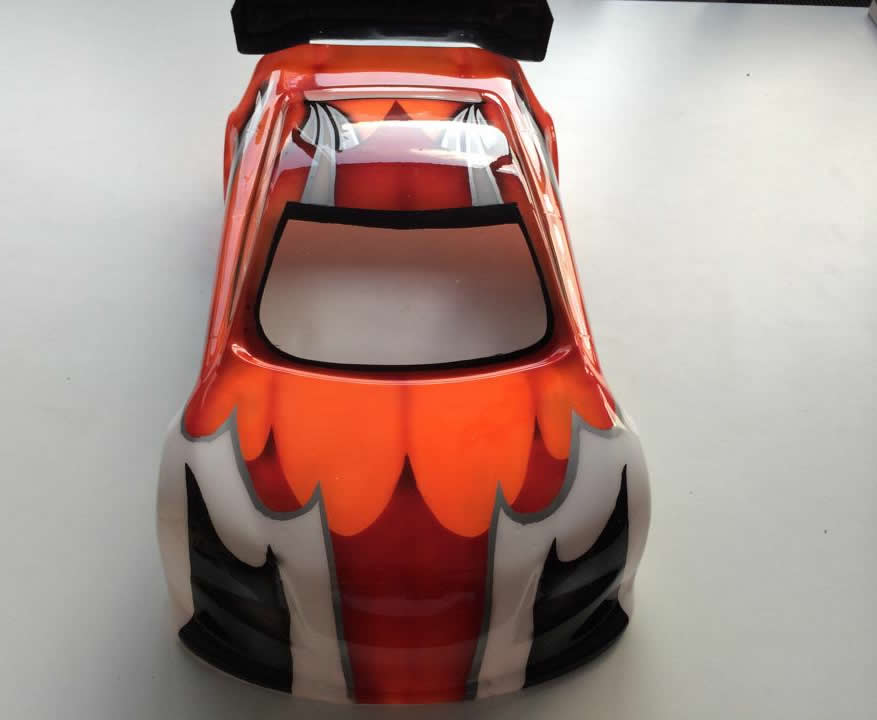
1 x Body Xceed |
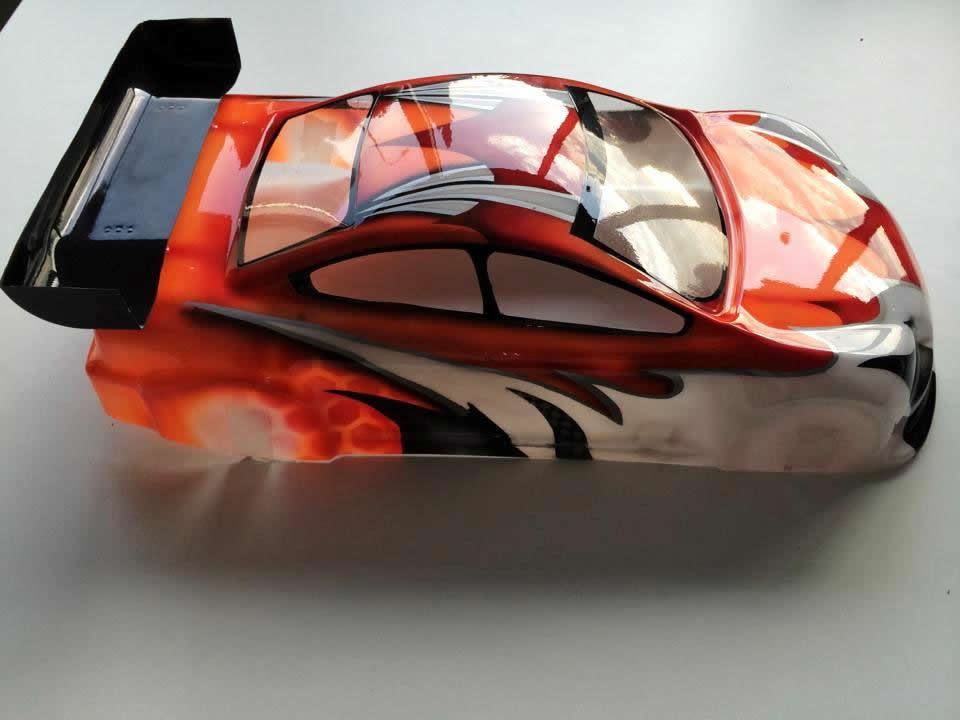
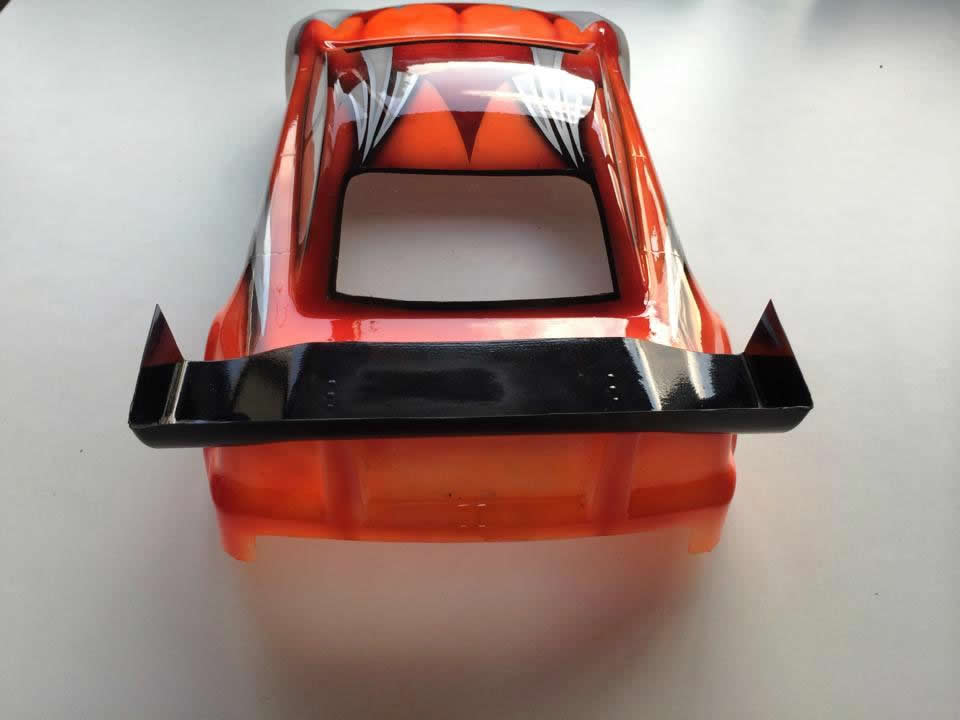
One other thing to add is a good paintjob:I received my new body from RatPaint which was a replica of the Serpent paint job. |
RATPAINT BODY: |
|||
 |
 |
 |
 |
My overall impressions:The kit was as per usual the kind of quality I have come to expect from Serpent, the build was a slow process but this was what was needed to build the car in the correct way. I was given so much advice by a lot of people and so I took it and hopefully used it in the right way. I cannot wait to start running the car which I hope will be very soon. Things the manual do not tell you:1.) You will need an RX male female extension lead to run for your battery wiring this is used in step 29, see below. 2.) Battery placement, your battery needs to be no wider than 30mm, this is very important as it could rub against the drive belt Tips on build:Step 11 Step 18.1 (thanks to Serdar Aytemiz from www.aytemizhobi.com) Step 20 Step 21.2 (thanks to Daniel Jones on Natrix Facebook page) Step 24 Step 27 Step 29 Step 38 Step 44.2 Step 54 Here is a picture showing the correct clutch shoe position. |
 |
Video Gallery of Build with over 240 Pictures: For full individual picture gallery go to http://www.tomhow.com/ |
 |